
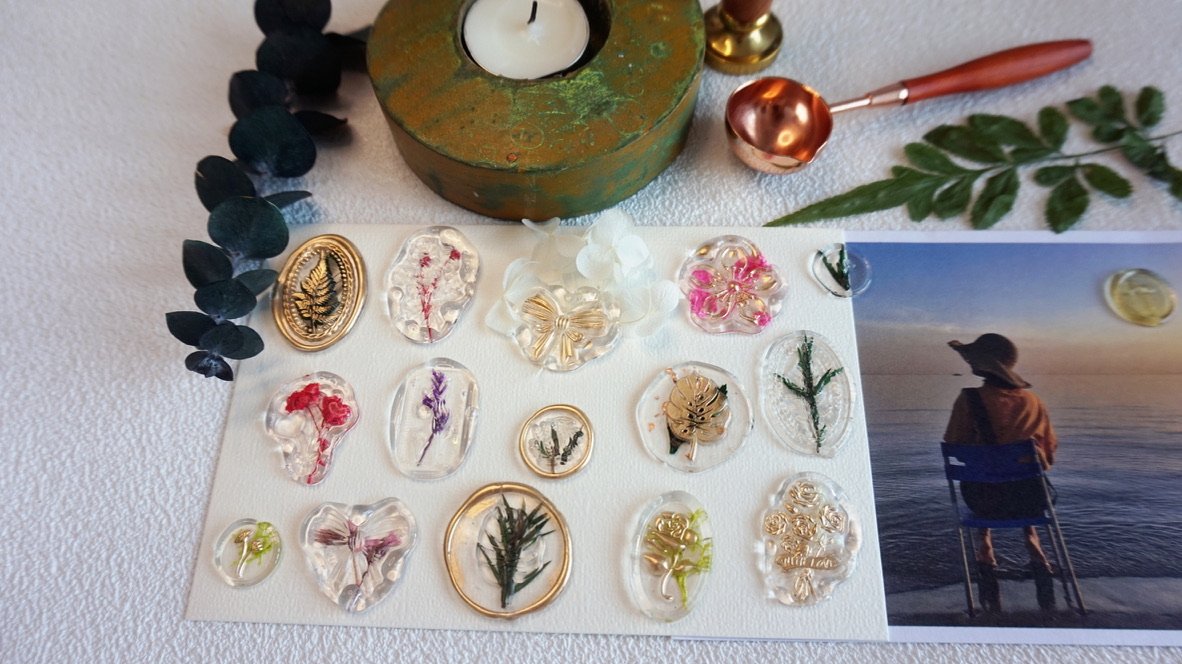
Transparent wax seals are a beautiful way to add a personal touch to handwritten letters, wedding invitations, gift wrapping, and handmade stationery. Their clear finish allows decorative details such as pressed flowers, delicate leaves, and gold foil to remain visible, creating a look that is quite different from traditional colored wax seals.
If you are new to wax sealing, learning how to use clear sealing wax sticks may seem a little unfamiliar at first. How should you melt the wax? How much should you use? When should you press the stamp?
This beginner-friendly guide walks you through the entire process, from preparing your workspace to making a finished transparent wax seal. You will also learn practical tips for getting a neat impression and avoiding common mistakes.
What Makes Transparent Wax Seals Different?
Traditional sealing wax is usually opaque, with colors such as red, gold, green, or burgundy. Transparent sealing wax has a clear appearance that allows the surface and decorative materials beneath or within the wax to remain visible.
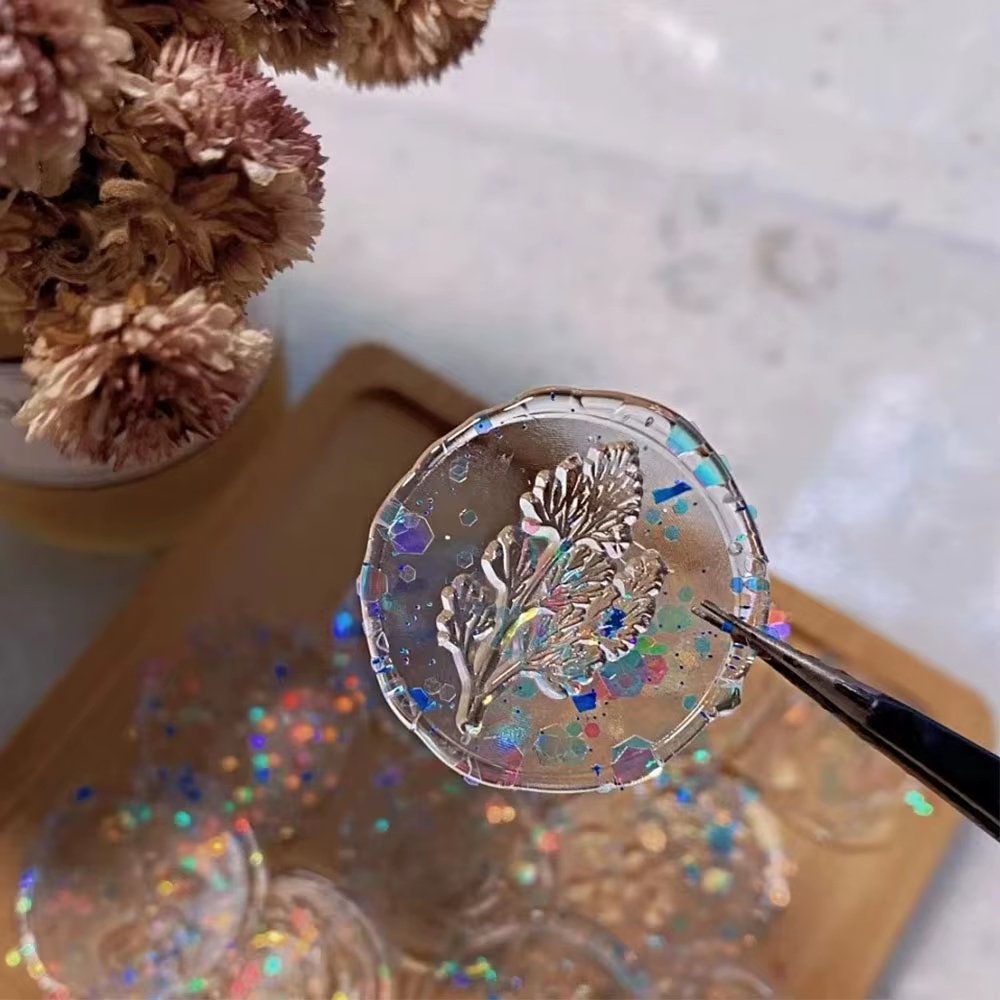
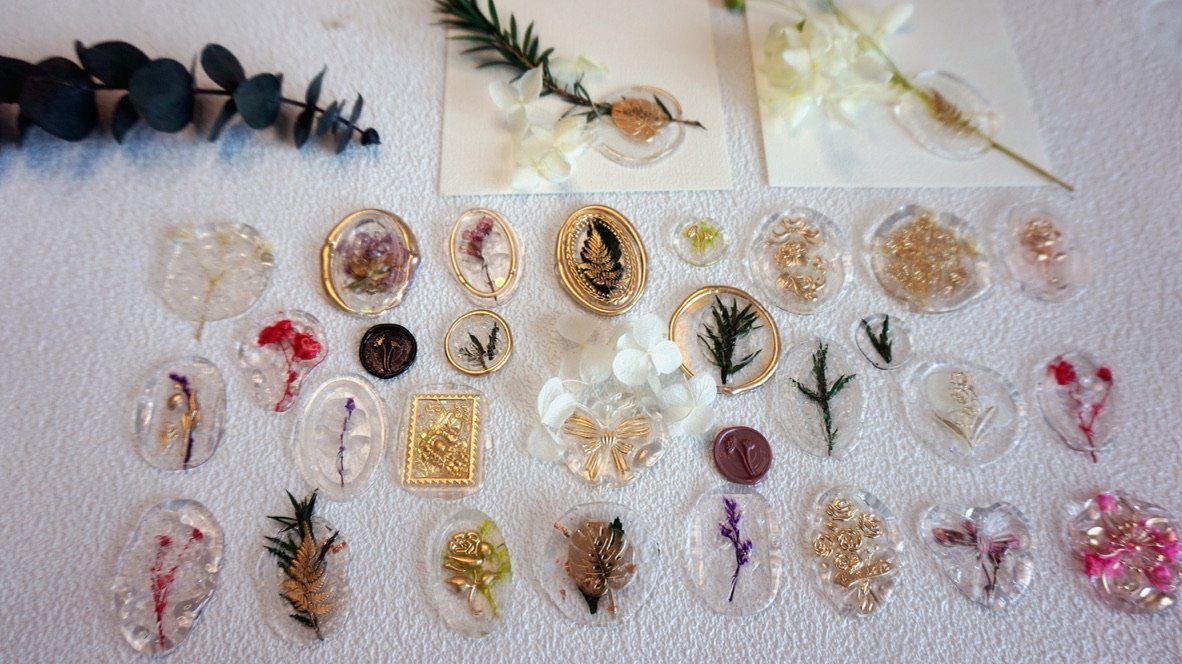
This makes it particularly interesting for creative projects. A small pressed flower, a delicate leaf, or a touch of metallic foil can become part of the finished design.
Transparent wax seals can be used for:
- Wedding invitations and envelope decorations
- Handwritten letters and greeting cards
- Journals and scrapbooks
- Gift tags and decorative packaging
- Handmade stationery and paper crafts
- Personalized decorative keepsakes
Supplies You Need Before Getting Started
Before making your first seal, prepare the following basic supplies.
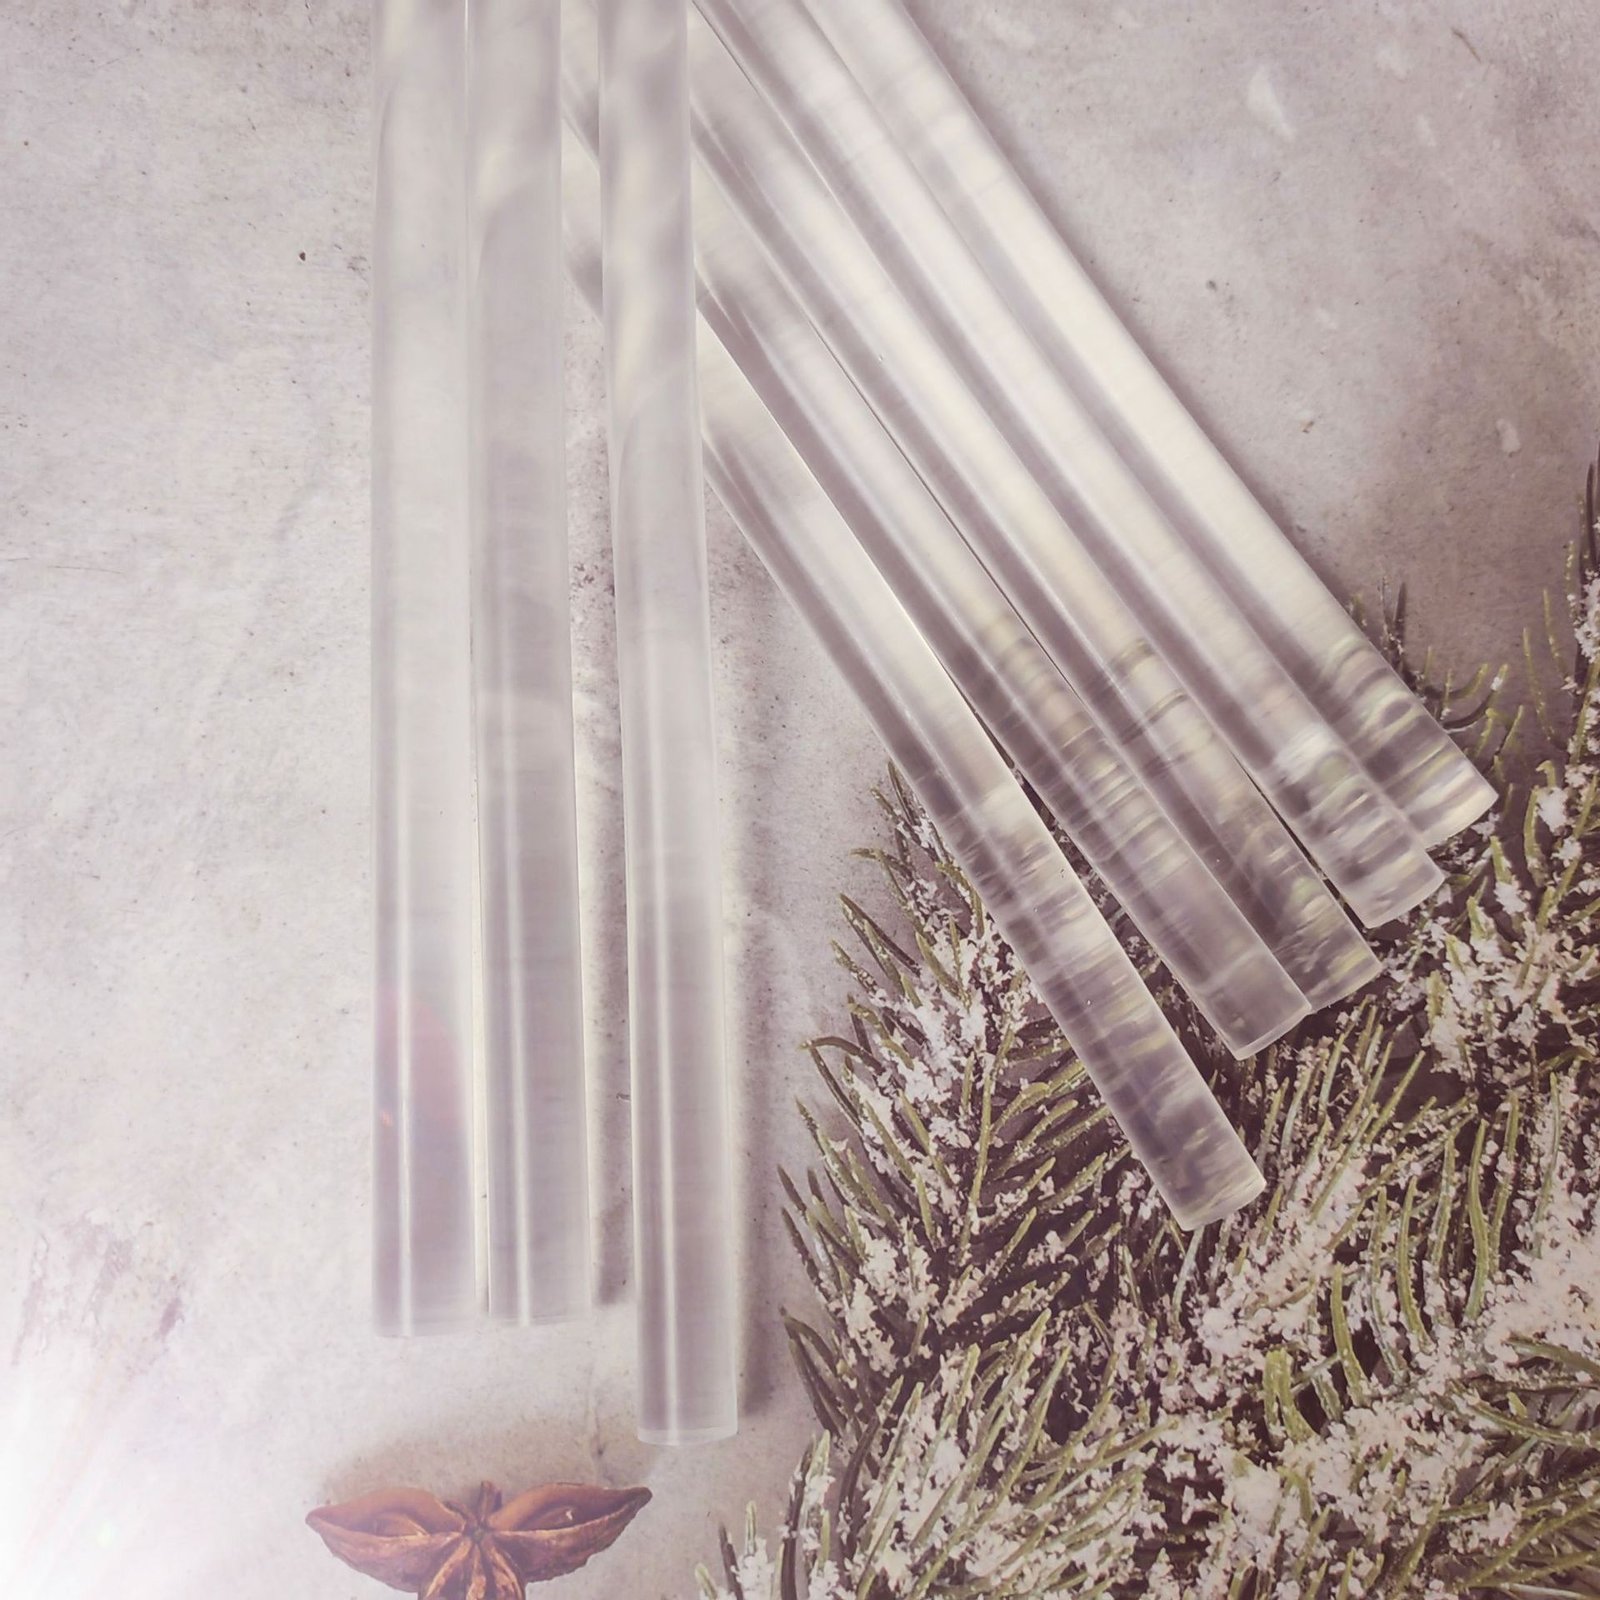
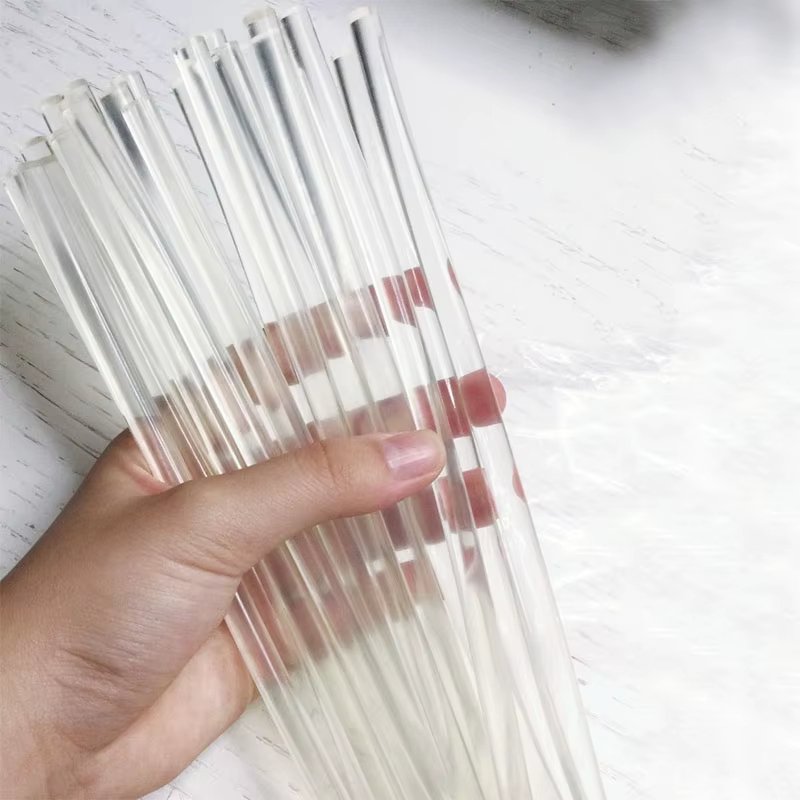
Clear Sealing Wax Sticks
Choose wax sticks designed for use with a glue gun. Check the diameter of the sticks and make sure they match your glue gun’s specifications.
For example, 7 mm wax sticks require a compatible 7 mm glue gun. Using the correct size helps the wax feed smoothly through the gun.
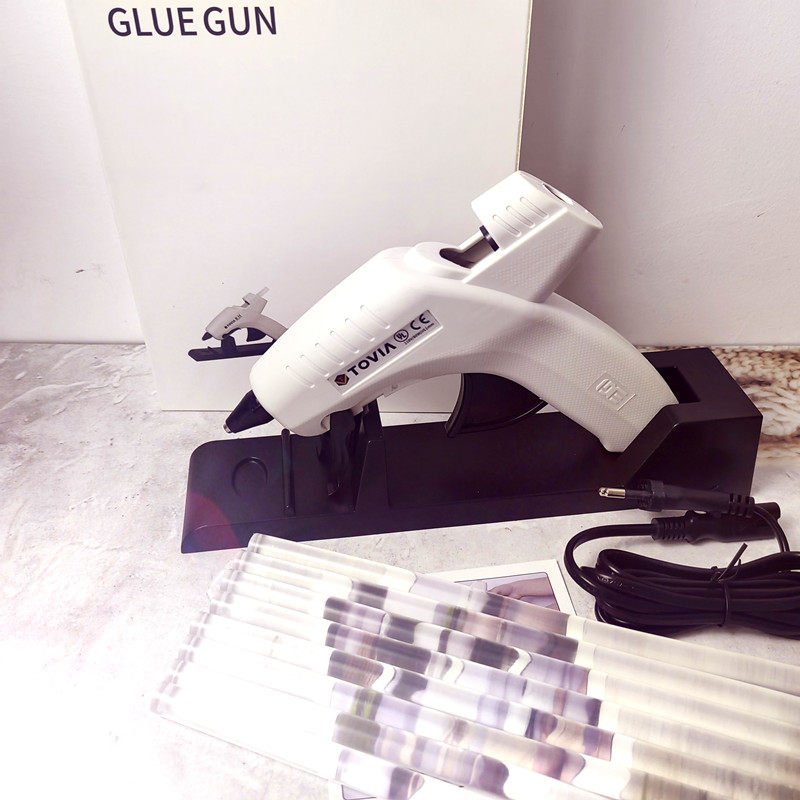
A Compatible Mini Glue Gun
A mini glue gun is a convenient tool for melting and dispensing wax. Check that it is suitable for your wax sticks and follow the manufacturer’s temperature and operating instructions.
A Wax Seal Stamp
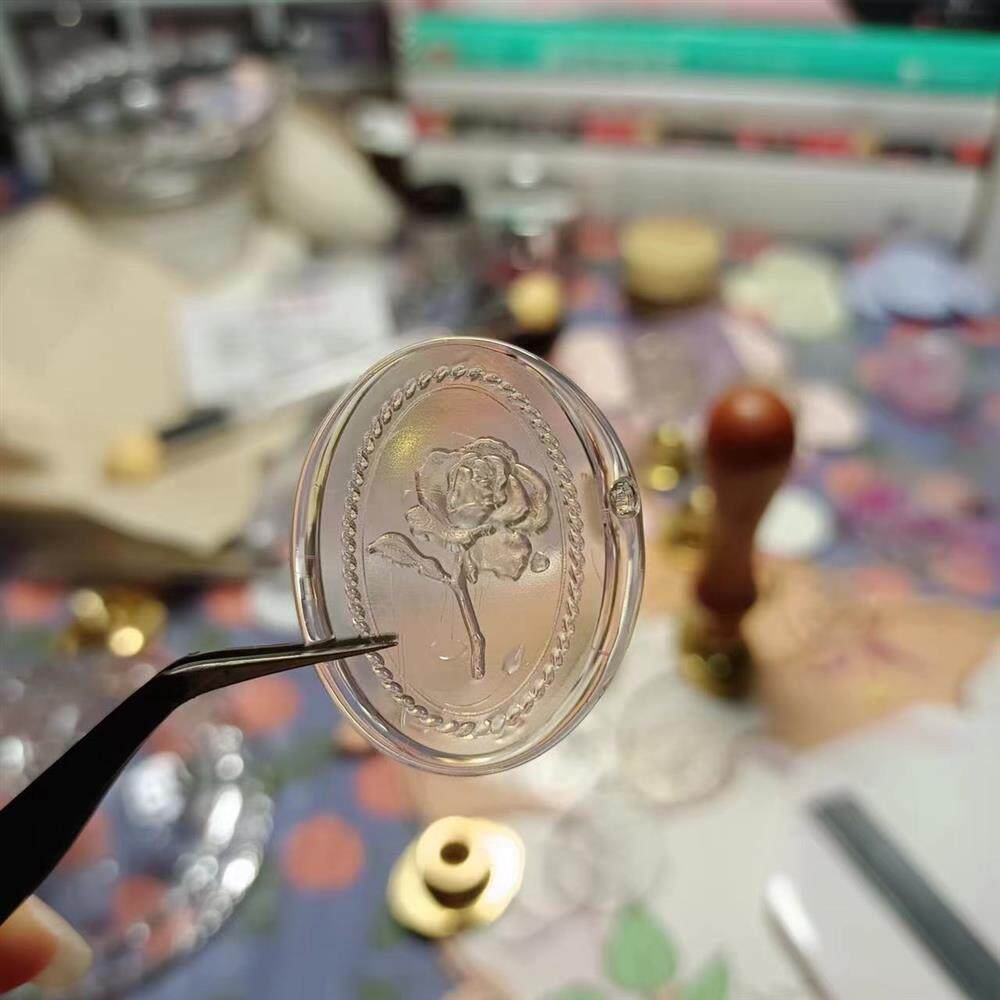
Choose a stamp design that suits your project. Floral patterns, botanical illustrations, initials, and classic decorative motifs are all lovely options.
A Heat-Resistant Non-Stick Surface
A silicone mat or another suitable heat-resistant surface provides a convenient place to practice. It also makes it easier to remove finished seals without damaging your work surface.
Optional Decorative Materials
You can experiment with small pressed flowers, dried leaves, gold foil flakes, and other suitable decorative details. Choose materials that are dry, small, and appropriate for the size of your wax seal.
How to Use Clear Sealing Wax Sticks
Once your supplies are ready, follow these six steps to create your first transparent wax seal.
Step 1: Prepare Your Workspace
Place your silicone mat or suitable heat-resistant surface on a flat table. Make sure your stamp is clean and dry.
If you are decorating an envelope or invitation, prepare it before melting the wax. For your first attempt, practice on a separate surface so you can experiment without damaging important stationery.
Step 2: Heat the Glue Gun
Insert a compatible wax stick into the glue gun and allow it to heat according to the manufacturer’s instructions.
Do not force the trigger if the wax does not move smoothly. Check that the gun has reached its recommended operating temperature and that the stick size is compatible.
Step 3: Dispense the Melted Wax
Gently squeeze the trigger to dispense melted wax onto your heat-resistant surface or suitable paper surface. Move the nozzle slowly to create a small, rounded pool.
The amount of wax you need depends on the size of your stamp. Start with a small amount, then adjust after making a test seal.
Step 4: Add Decorative Details
For a botanical look, carefully place a small pressed flower or dried leaf into the melted wax. You can also experiment with a small amount of decorative foil.
If you prefer a clean, minimal design, leave the wax transparent without adding anything. A simple clear seal can be just as beautiful.
Step 5: Press the Wax Seal Stamp
Wait briefly until the wax begins to settle, then gently press your stamp into the wax. Apply even pressure and avoid moving the stamp from side to side.
Keep the stamp in place until the wax has cooled enough to hold its shape.
Step 6: Lift the Stamp and Let the Seal Cool
Carefully lift the stamp straight up. Allow the finished seal to cool completely before handling it.
You should now have a transparent wax seal with a decorative impression. If the first attempt is not quite right, adjust the wax amount and timing and try again.
How to Get a Neat and Even Wax Seal
A little practice can make a noticeable difference in the appearance of your finished seals. Keep these tips in mind as you work.
Use the Right Amount of Wax
Too little wax may not cover the stamp properly, while too much can make the seal thick and uneven. Start with a small amount and adjust gradually.
Keep Your Stamp Clean
Wax residue can affect the detail of the next impression. Clean your stamp gently according to its material and care instructions.
Allow Enough Cooling Time
Pressing or lifting the stamp at the wrong time can affect the finished shape. Give the wax enough time to firm up before removing the stamp.
Keep Decorative Details Simple
Transparent wax allows small details to stand out. A few carefully chosen botanical elements often create a more balanced design than several decorations placed together.
Creative Ways to Use Transparent Wax Seals
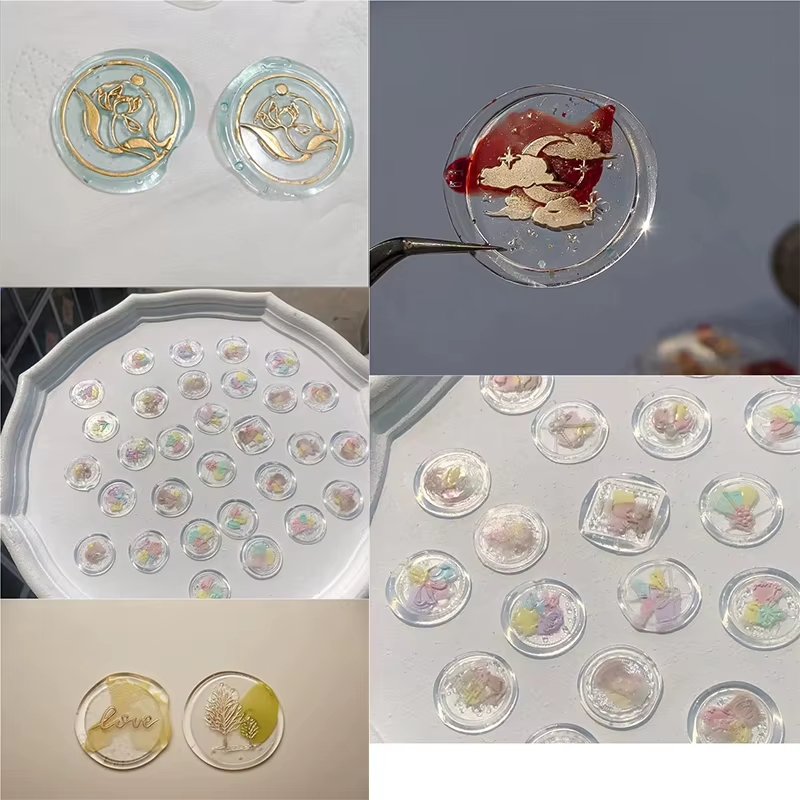
Once you are comfortable making wax seals, you can use them in many different stationery and craft projects.
Wedding Invitations
Transparent wax seals can add a delicate finishing touch to wedding invitations, RSVP cards, and envelope decorations. Pair them with handmade paper, botanical illustrations, or ribbon for a romantic presentation.
Handwritten Letters and Greeting Cards
Add a personal detail to handwritten letters, thank-you notes, and greeting cards. A small wax seal can make an ordinary envelope feel more thoughtful.
Gift Wrapping and Packaging
Use decorative wax seals on gift tags, wrapping paper, or suitable packaging. Coordinate the stamp design with your wrapping colors for a more cohesive look.
Journals and Scrapbooks
Transparent wax seals can also be used as decorative elements in journals, memory books, and scrapbook layouts. Try combining them with pressed flowers, patterned paper, and handwritten notes.
Handmade Stationery Projects
If you enjoy making your own stationery, experiment with different paper textures, stamp designs, and decorative inclusions. Small variations can make each finished seal feel unique.
Common Wax Sealing Problems and How to Avoid Them
The Wax Does Not Flow Smoothly
Your glue gun may not be fully heated, or the wax stick may not be compatible with the gun. Check the manufacturer’s instructions before continuing.
The Finished Seal Looks Too Thick
Try dispensing a smaller amount of wax. You can gradually adjust the amount until it suits your stamp size.
The Stamp Sticks to the Wax
The wax may not have cooled enough, or the stamp may have residue on its surface. Allow the wax to firm up and keep the stamp clean between uses.
The Decorative Details Are Hard to See
Use smaller, lighter decorative elements and avoid overcrowding the wax. Transparent designs usually look best when each detail has room to stand out.
The Seal Has an Uneven Shape
Dispense the wax in a steady circular motion and press the stamp evenly. A few practice attempts can help you develop a consistent technique.
Frequently Asked Questions
How do you use clear sealing wax sticks?
Insert a compatible wax stick into a glue gun, allow it to heat according to the manufacturer’s instructions, and dispense melted wax onto a suitable surface. Add optional decorations, press your wax seal stamp into the wax, and let it cool before lifting the stamp.
How do you melt clear sealing wax?
A compatible glue gun is a convenient way to melt and dispense clear sealing wax sticks. Always check the stick diameter and the glue gun’s operating requirements before use.
Can you use clear sealing wax with a mini glue gun?
Yes, if the wax stick diameter is compatible with the mini glue gun and the wax is designed for glue-gun use. For example, 7 mm wax sticks require a compatible 7 mm glue gun.
Can you put flowers inside transparent wax seals?
Small pressed flowers and dried leaves can be used as decorative details. Choose thin, dry materials that fit comfortably within the size of your seal.
Are transparent wax seals suitable for wedding invitations?
Yes. Their delicate appearance works beautifully with wedding stationery, especially when paired with botanical designs, handmade paper, and elegant ribbon.
How many seals can one wax stick make?
The number depends on the size of your stamp and the amount of wax used for each impression. Smaller stamps generally require less wax than larger designs. Making a few test seals is the best way to estimate how many you can create from a pack.
Final Thoughts
Learning how to make transparent wax seals is a simple way to bring more personality to letters, wedding invitations, and handmade crafts. Once you understand the basic process, you can experiment with different stamps, decorative details, and paper styles.
Start with a few practice seals, adjust the amount of wax to suit your stamp, and enjoy discovering your own creative style.
Explore the Beauty of Clear Sealing Wax
Ready to bring your stationery ideas to life? Discover LemoMoon’s crystal clear sealing wax sticks and explore new ways to personalize letters, invitations, and creative projects.
Find Your Little Something.
“`